Getting better

As you can see my shadows issue began to resolve itself final gather and global illumination once you have the both of them the settings should be maintained pretty low. but it still is not enough no where near as you can see from the last picture in this post but im quite happy with my progress with the knowledge of lighting

render 30 render 31 render 32 render 33 render 34 render 35 render 36

better renders

the first two i found to be a really nice renders at first but it was low quality i was really enjoying my renders with the final gather off and just controlling the lighting through the exposure controls, but then i switched on final gather and the room just became much lighter and trying to control the shadows at that point was real troublesome  render 9 render 10 render 11 render 12 render 13

beginning to control the lighting in the room the global illumination settings where giving off these effects you see on corners off the room and on the guitar at first i thought it was the room so i used a shell modifier on it and tried to identify any gaps that light might be getting in through but then altering with the global illumination settings i realised that, that’s where the issue was at.

render 14 render 16

More Renders

pretty good render testing out the lighting on top of the stove and to show off the reflectiveness when the light hits the microwave again these renders are no where near my final so i havent applied high end settings not even global illumination.

RENDER 4 RENDER 5

the third picture pretty disappointed on that one just cant seem to get the shadows correct. the fourth picture as you can see was too show off the ceiling and the errors I’m encountering when rendering.RENDER 6 RENDER 7

Microwave

after modelling quite a few assets i felt comfortable modelling a microwave, i think it was just the practice of box modelling, i made this microwave in like less than 20 minutes just using pictures as references, i extruded out the front face of the box then with the edges selected connected created more lines extruded them in like you can see on the first picture on the side i connected a lot of lines to make more and extruded in the mini squares, so it resembled microwaves i don’t know the use of them myself and then selected a bunch of vertexes like you can see and pushed it in to make the dent on the side of the microwave

MICROWAVE 2

making the feet was just a simple box with the bottom part scaled down then copied them to each corner, the front part were just a few insets to make the window of the microwave, extruded it in for the panel, the opening door button and the rest of the buttons i extruded them out.

MICROWAVE 3 MICROWAVE

first few renders with materials

i was quite happy with the first render that you can see with no ceiling the shadows where bouncing off nice and it had this sense of realism to it bare in mind it has no final gather or GI  applied to it and the settings were quite low yet it was a pretty nice render, the next few have have ceilings, didnt like they way the light was hittin the room and the effect it was giving the ceiling

RENDER RENDER 2 RENDER 3

starting to put my dish rack together with cutlery, plates, bowls and cups and beginning to texture everything so its all fitting in nice

bowl dishes textured

these are my first attempts on trying to uvw map the mug i found it troublesome but going a long i started to figure it out more and more, there will be more uploads where you will be able to see how it turned out, these were uvw maps using the box and  plane settings

keep calm and put the kettle on keep calm

Textures Gathered

1wood_floor_texture_1

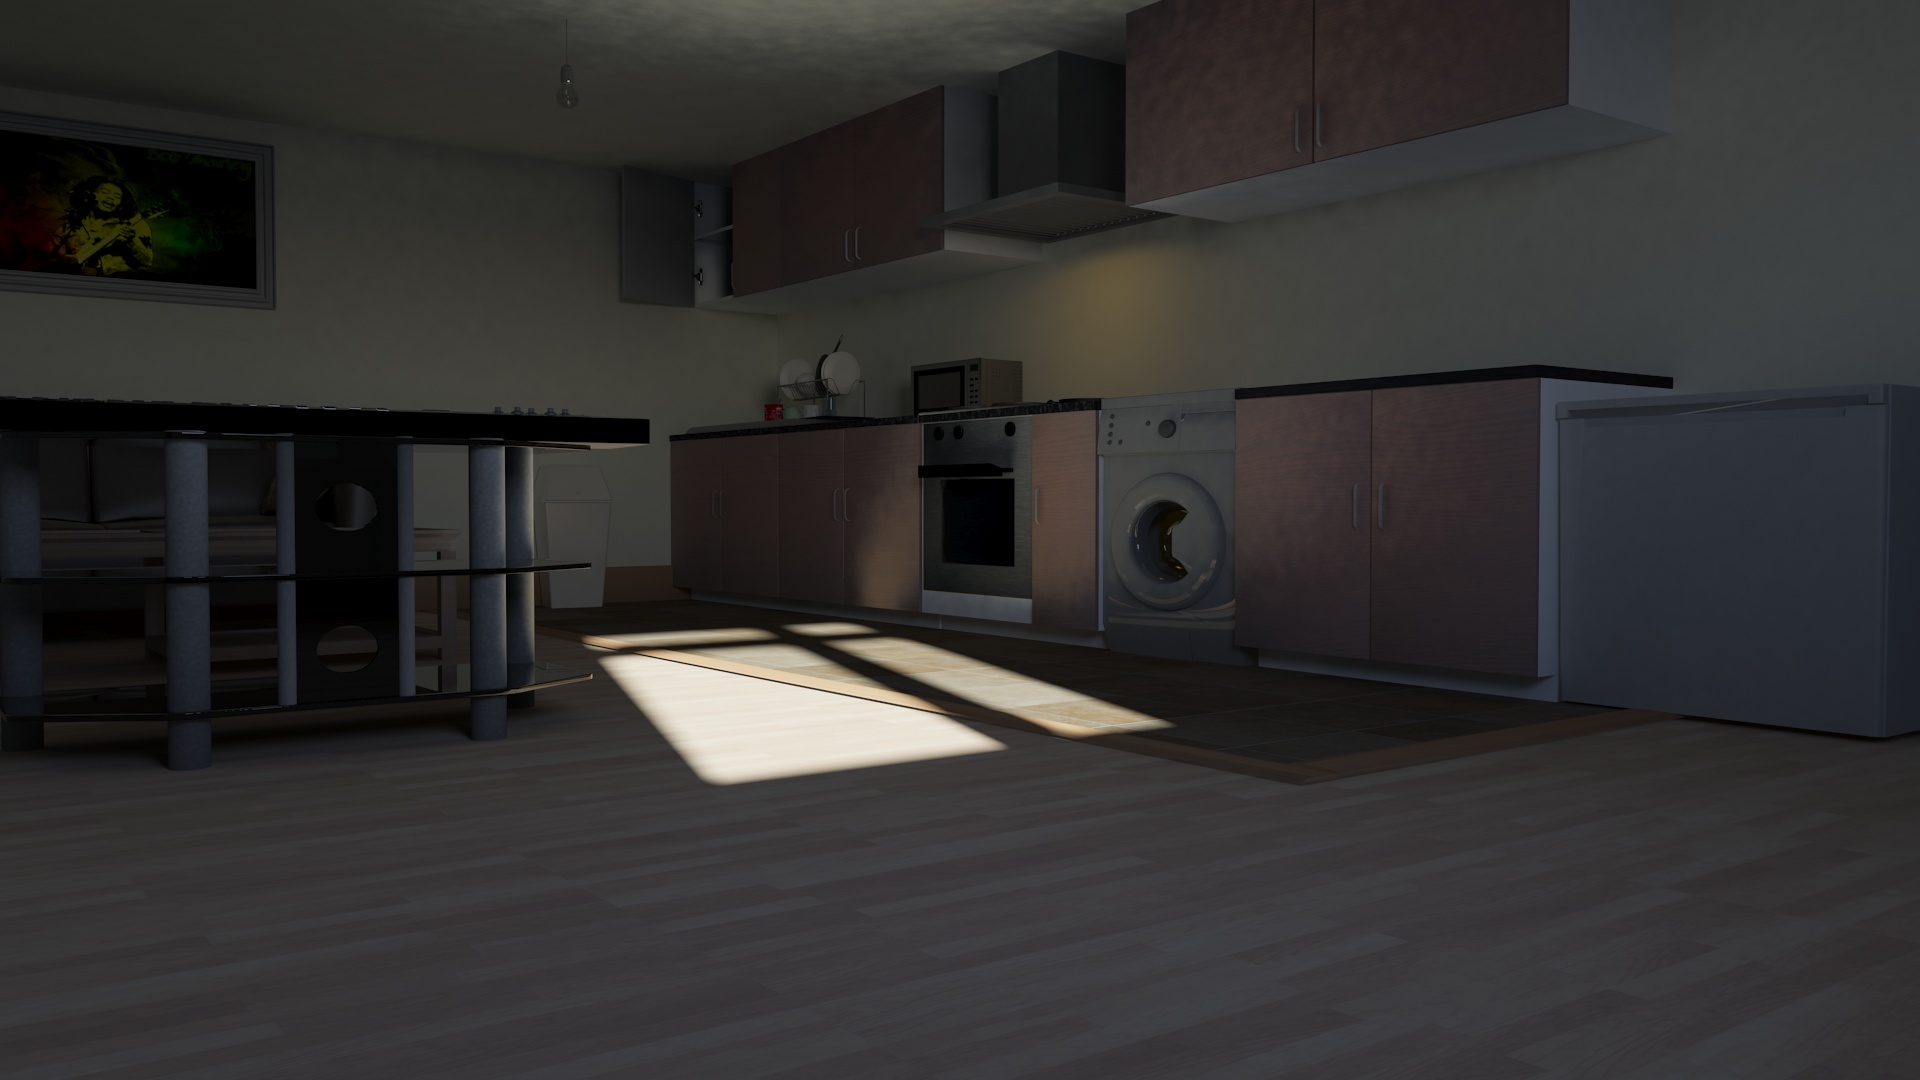
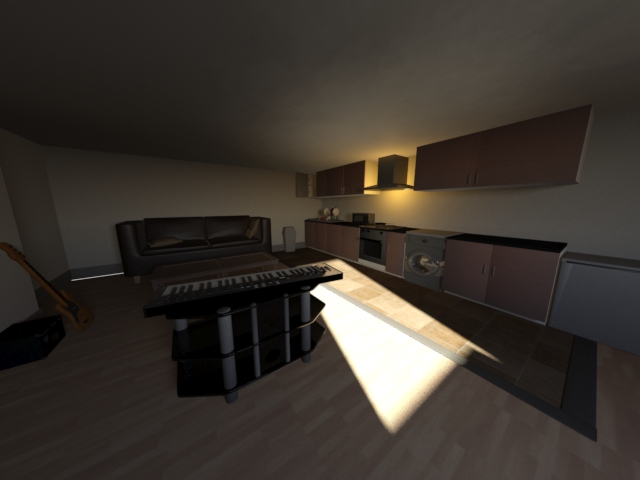
since i had an idea to make it a studio flat living room which normally shares the area with the kitchen area there’s normally too different floors separated by floor trims this would be ideal for the living area its a bright would would go well with the colours used around the room,

opera speaker background

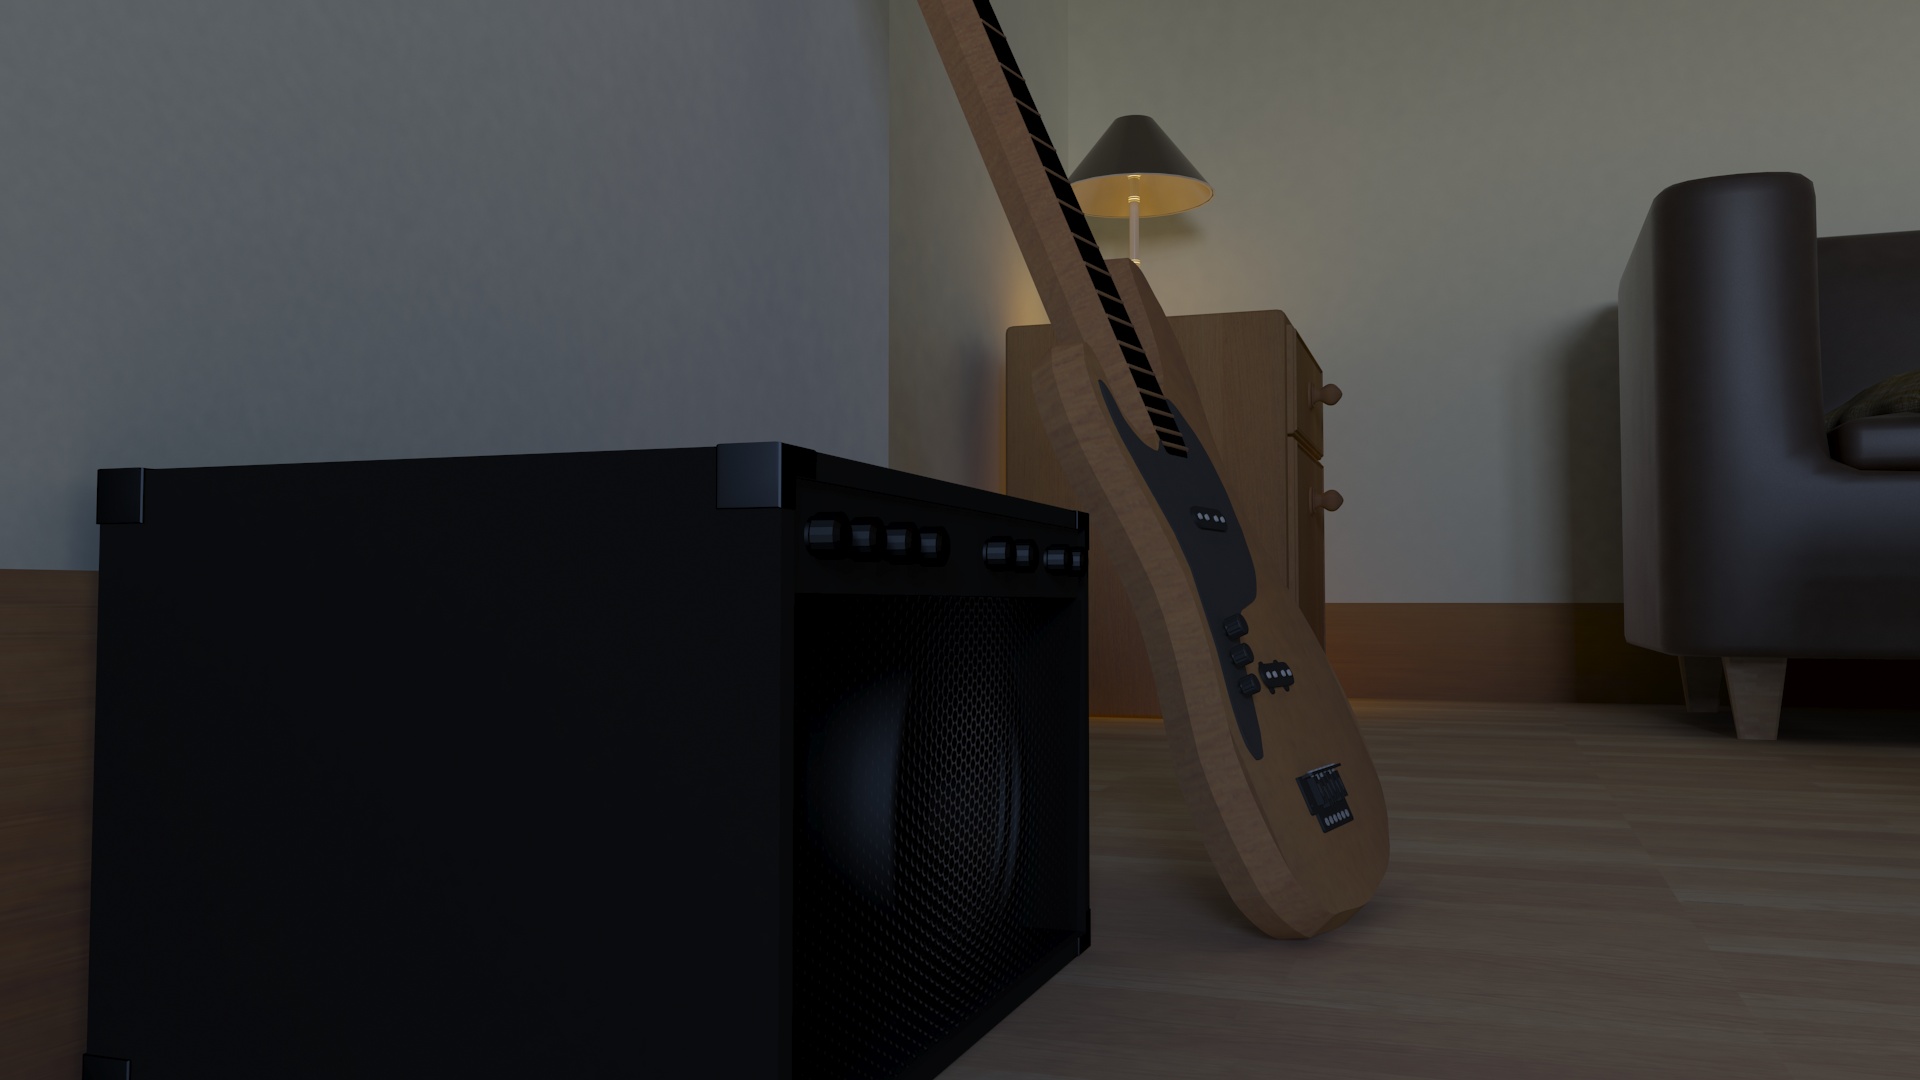
this is the material i would apply to the front face of the amplifier and turn the opacity low on the material so that the inside subwoofer can show

bob-marley-on-guitar

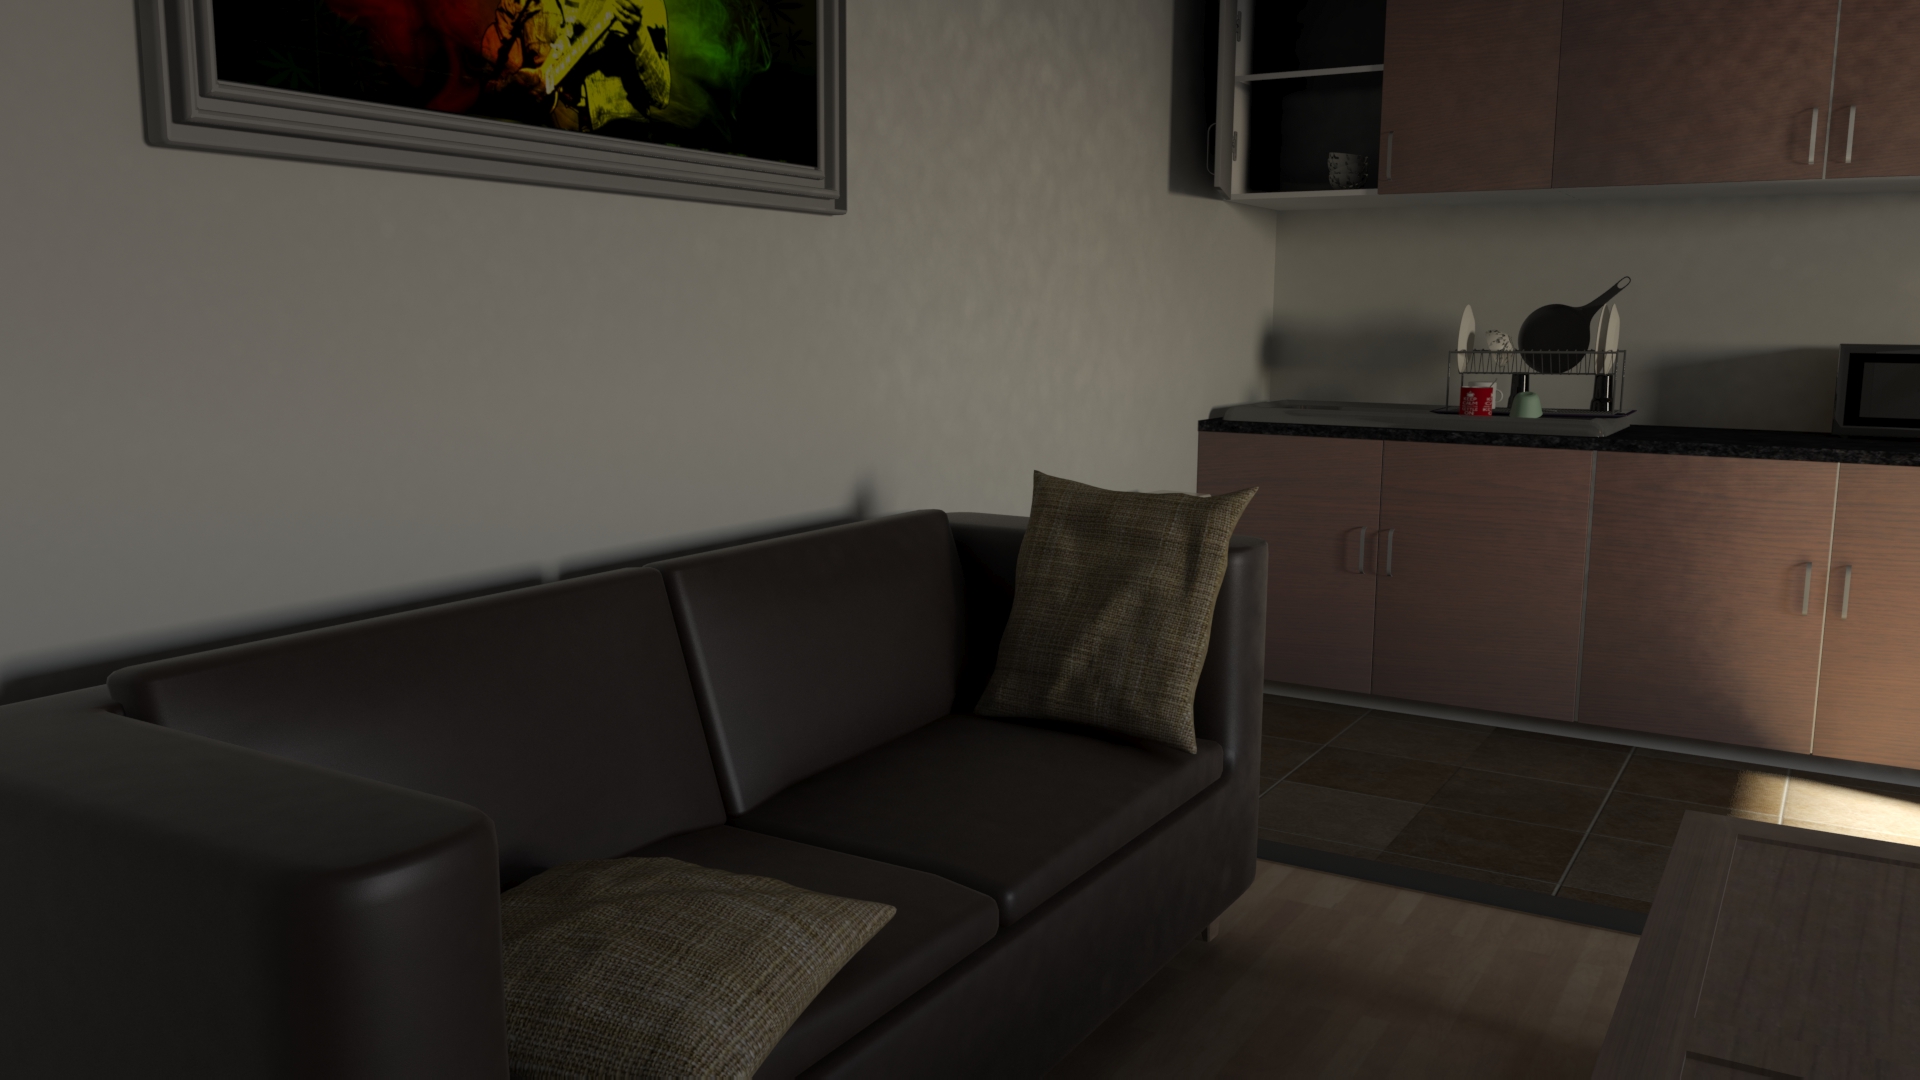
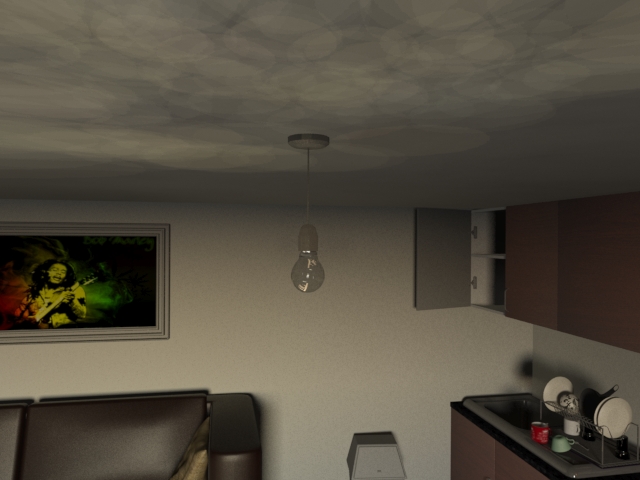
i wanted something to fill the wall space because it was empty so i created a frame and needed a picture for it, students love bob marley so i thought he would be a good picture to cover my theme

contemporary-kitchen-countertops

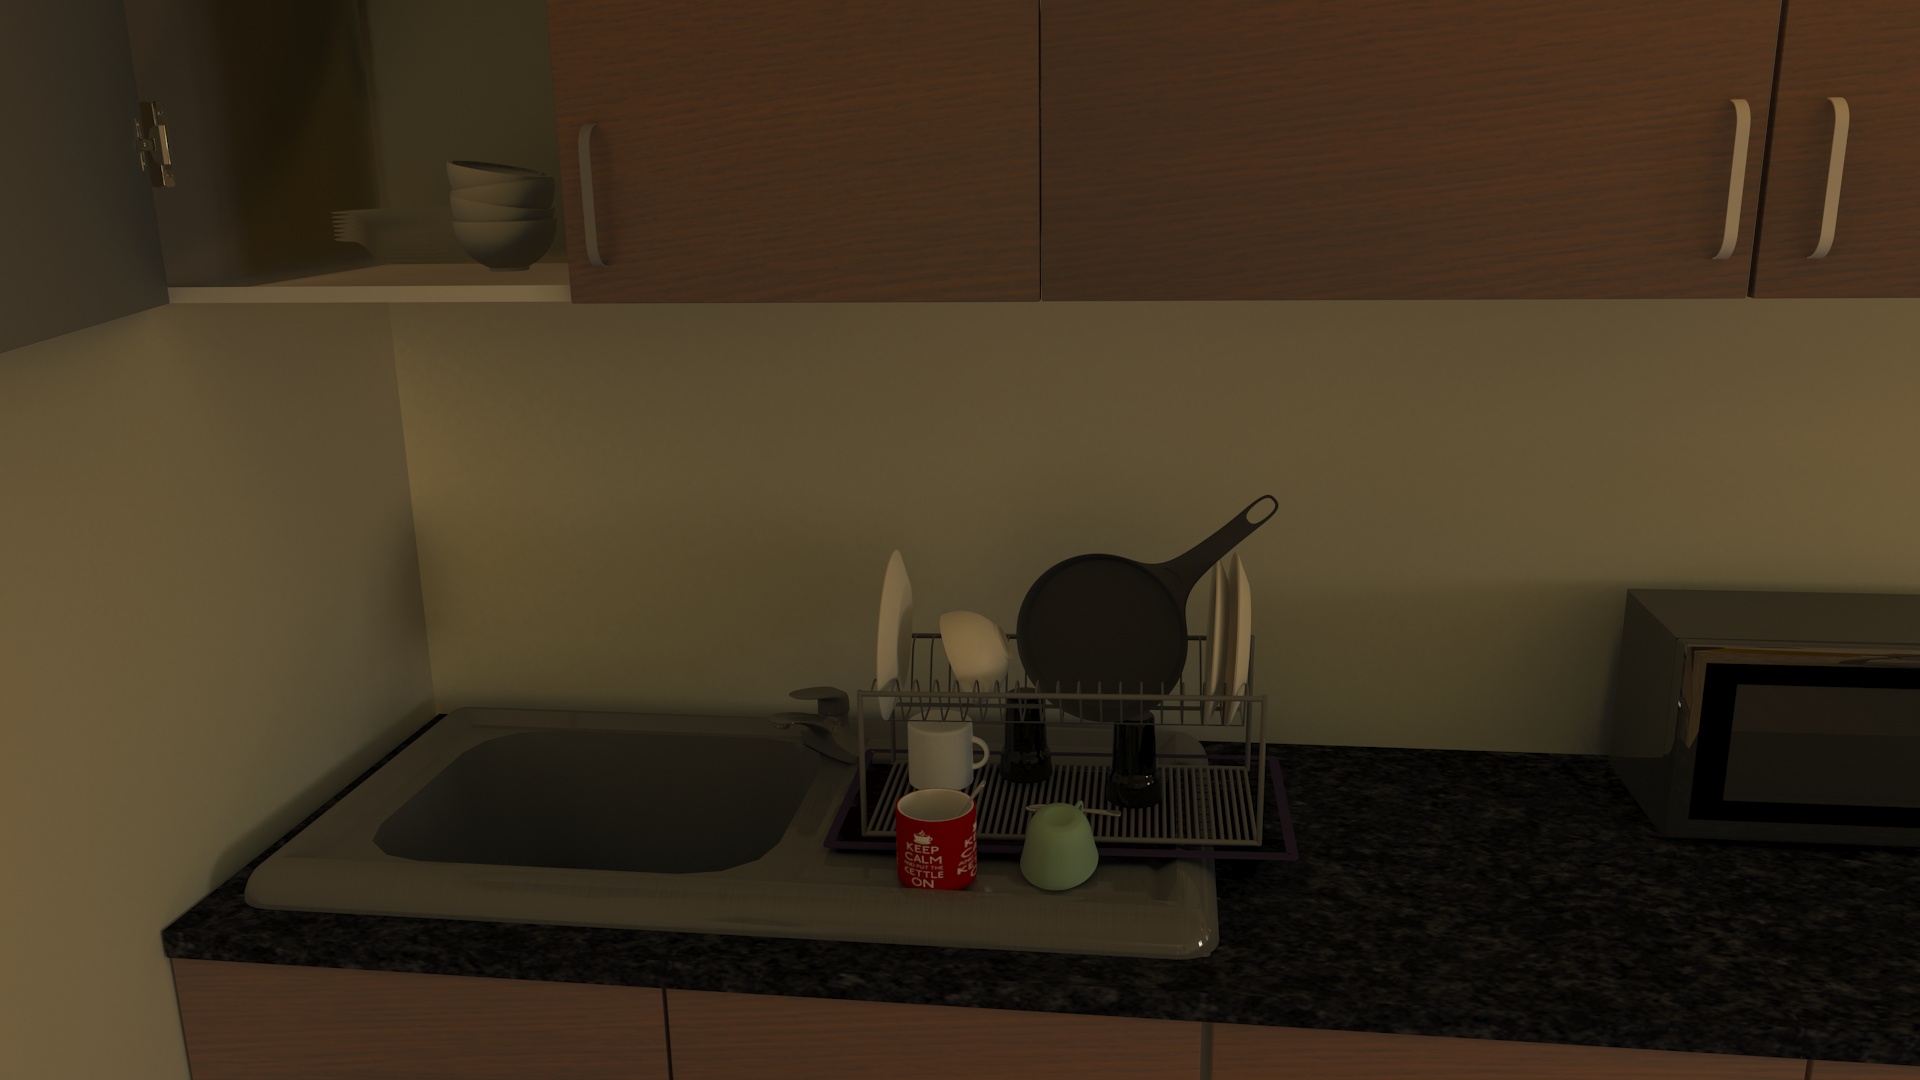
great material for a kitchen top referenced it from my own kitchen, thought it would go well with brown which is the colour that most of my room textures are

fabric-textures-pack-screenshots-6

material for the mini cushions on the couch thought it went well with the dark brown leather applied to the couch

light_wood_fine_20120523_1972694799

wood used for the floor trims a nice brown that is perfect for my floor trims since the colour of my wooden floor boards are much lighter and less saturated so it can seperate colours nicely,

Metal_Texture_by_beyn

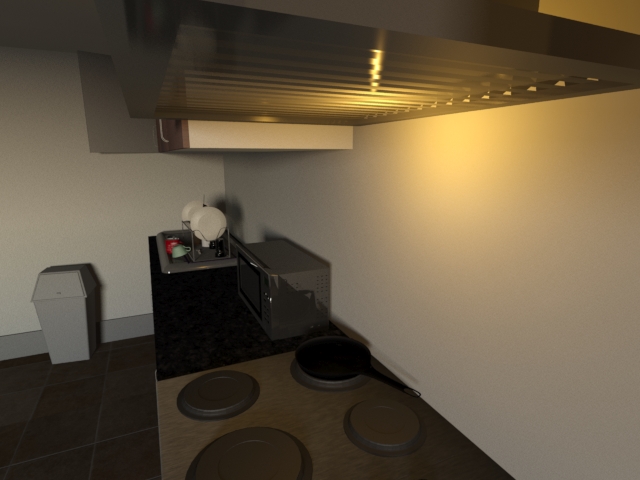
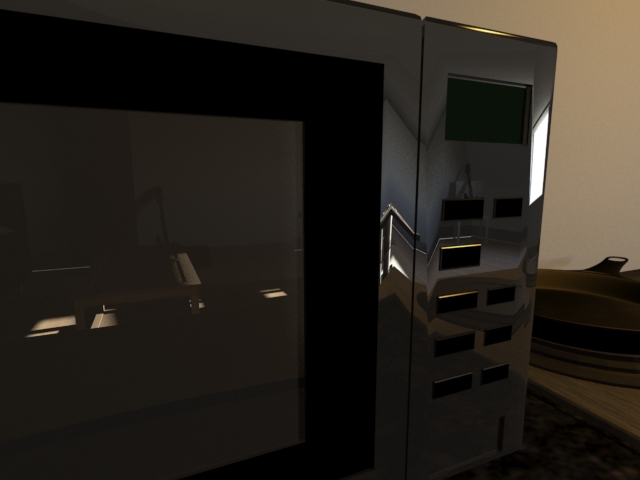
applied to the oven this brushed metal is the excellent material for the oven so that it isnt just chrome reflecting off, from my oen knowledge most metal on ovens are like this so i thought  it would go well and after testing it im happy with the results.

modern-kitchen-floor-tiles-texture-tmalsc83

floor texture used for the kitchen area and after testing i think it went amazing with the floor trim colour and the lighter floor boards for the living area.

RedBase2

wanted to test out my ability to uvw map and wanted to apply it to one of the mugs i had created, pretty satisfied on how it turned out  and the colour itself makes the mug stand out.

scarfaceposter

brilliant poster similar to the bob marley picture framed wanted to add a poster and in my head instantly scarface popped up it just makes the room welcome students more and with the feedback recieved i decided to keep it. after trying to bring lfe to a flat plane by applying modifiers i finally managed to make the poster blend in to the room.

Microphone Stand

With the microphone stand i find it easier to take it one step at a time, making each piece as i went along, the part that was most challenging was the mic holder because i had to make it with the line tool and had to get it as perfect as i could so it was pretty time consuming after i was happy with my result i applied a bevel modifier to it then extruded it out and it was ready the rest was pretty basic box and cylinder modelling with all the basic tools out of converting shapes into editable poly’s

mic stand 2 mic stand 3 mic stand 4 mic stand

Keyboard

Making the keyboard was pretty simple that i did not even require tutorials, just a few reference pictures taken from the internet and using the keyboards in the classroom i was at as another reference to help me model the main body of the keyboard but for the keys i made one and shifted it over then using the extrude to make the three keys that are used on a keyboard after having some knowledge of the pattern i could just shift copy the keys, then i began working on the main body with a box with chamfering and using the vertex tool and connect tool with the edges to make more lines to work with.

all keys keyboard keys